


Improved off-axis performance
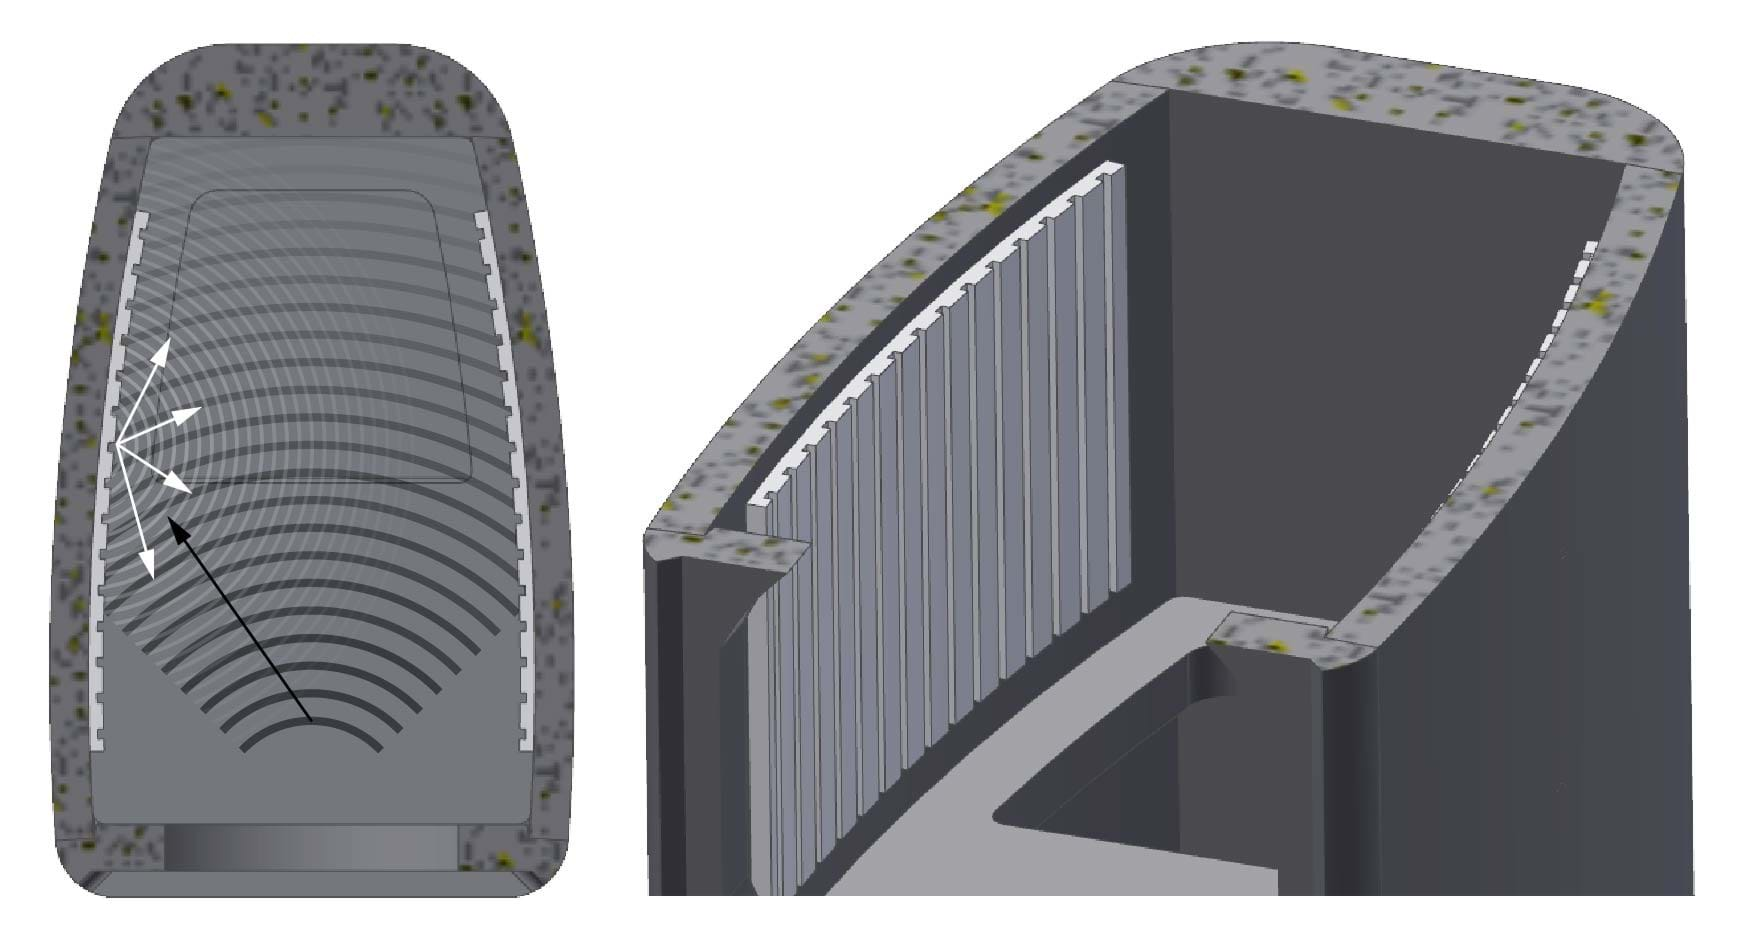
The 2016 Contour has curved edges for a solid sonic purpose: its edges help reduce unwanted high-frequency diffractions for improved treble without the need for adding fins or humps to the design. Moreover, it improves the loudspeaker’s off-axis performance – you don’t have to sit dead-center to enjoy the Contour’s beautiful sound reproduction.
Find all of the different specifications for each model here The 2016 Contour series.
The cabinet is a multi-layer MDF design with thick, thick layers: a 38mm back plate, 26mm fronts and depending on model 16mm or 19mm side plates (it’s only on the biggest of them all that we use 19mm side plates). The design is an extremely stiff and stable construction reducing any unwanted vibrations that could color sound for the best listening possible listening experience.
KERF-cut MDF dampening
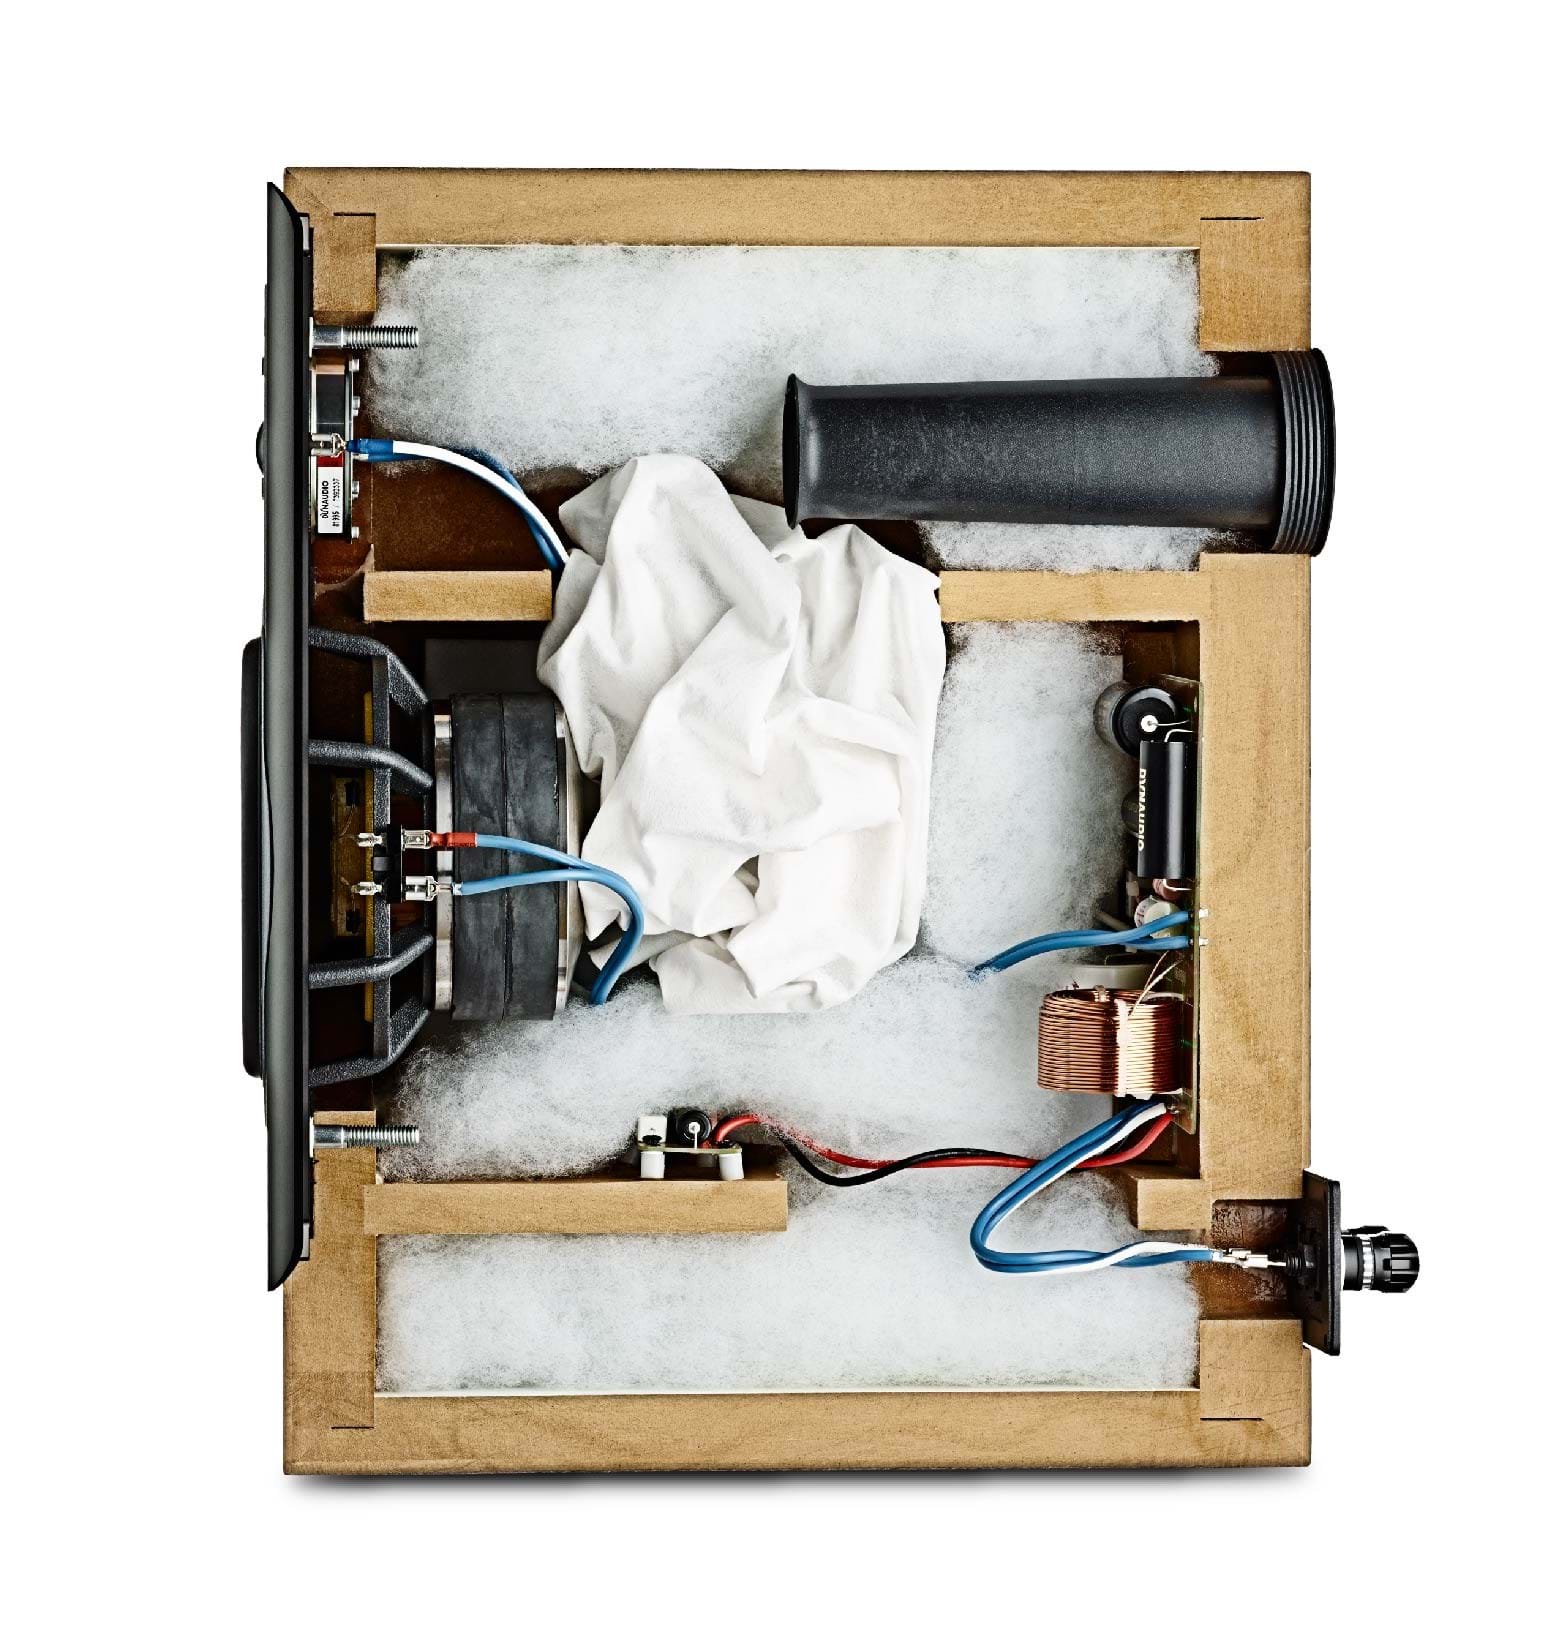
If we look under the ‘hood’, we have made an extremely well-damped cabinet: the internal bracing is placed as close to the loudspeaker drivers as possible to increase stability in this crucial part of the design. By doing so, we let the drivers do their jobs free of unwanted vibrations that could color the reproduced sound.
Also, we have added internal MDF dampening plates with KERF-cuts. These KERF-cut MDF dampening plates help stabilize the cabinet even more. The KERF-cuts themselves, and the thickness of the cabinet, actually help break up and absorb unwanted sound waves in the back of the cabinet making sure sound goes exactly where it’s supposed to: forwards.
Nothing but a 5-axis cutting-head will do
Making a Contour cabinet takes time, and the first step is to build the multi-layered cabinet. They are made of multiple layers of MDF that have been glued together and then pressed with tremendous force. After pressing, our craftsmen CNC-mill the cabinets in a process that takes more than 90 minutes to complete on a Contour 30. But, your average CNC-cutter isn’t up for the job; we use a CNC-machine with a 5-axis cutting-head, and operate it with the precision usually reserved for complex metal-tolerances.
The cabinet isn't the only thing on the Contour that visits the CNC-machine.
16 pieces of sandpaper will lose their life
Next, the milled cabinet goes in for the first layer of up to – depending on finish – eleven coats of lacquering – and the first coat (a primer) takes more than 40 hours to harden in a process that is absolutely crucial for ensuring high-quality cabinets.
Each layer has to settle completely; if we work too quickly, we’ll run the risk of having air bubbles or wrinkles form in the lacquer. The next coats don’t take as long as the primer, but still have to harden for more than 24 hours before they are stable enough for work to continue.
Want to see the cabinet in real life? Click here to a find near you.
Between each coat of lacquer, we sand down the cabinet. When a Contour 30 has been through the entire sanding-process, 16 pieces of sandpaper will have lost their lives. For the matte finishes, the final step is a sanding down with paper that has more than 600 particles per square centimeter – it’s called a P600.
With our high-gloss finishes, we keep on working. They need to shine (literally shine), so we give them a good polishing before they’re good to go. First, we apply two different polishing pastes and use a polishing disk with 1500 particles per square centimeter. The final treatment is with a P3000 disk – that’s an incredible 3000 particles per square centimeter, making the diameter of each particle 6 micrometer (that’s smaller than a human hair!).
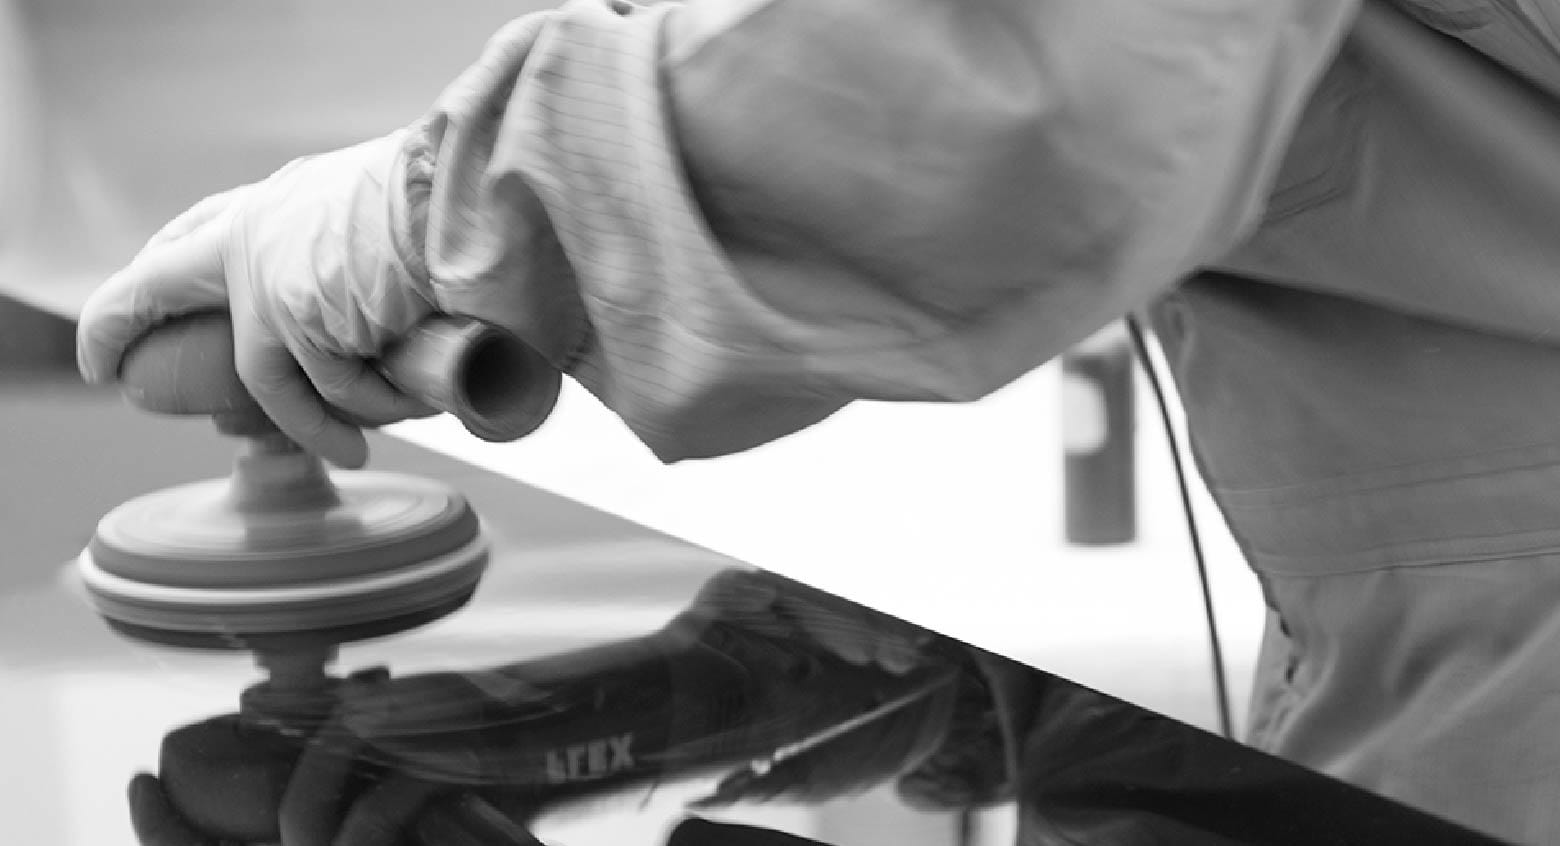
It takes skill and a sense of perfection
When we have a finished cabinet, the carefully executed manufacturing process will have taken more than 3 weeks; we will have used up to 4 liters of lacquer on a Contour 30; spent 16 pieces of sandpaper; and more than 8 hours of manual labor on sanding and polishing.
It’s a time-consuming and labor-heavy process, but it’s important to us. We have more than 30 carpenters that do nothing else than lacquering and polishing. They are the best in their field – because we only accept the best cabinets.
See how dedication and craftsmanship look for yourself: Find a dealer near you.
It takes dedication to master the skills and sense of perfection needed to build a Dynaudio cabinet.


