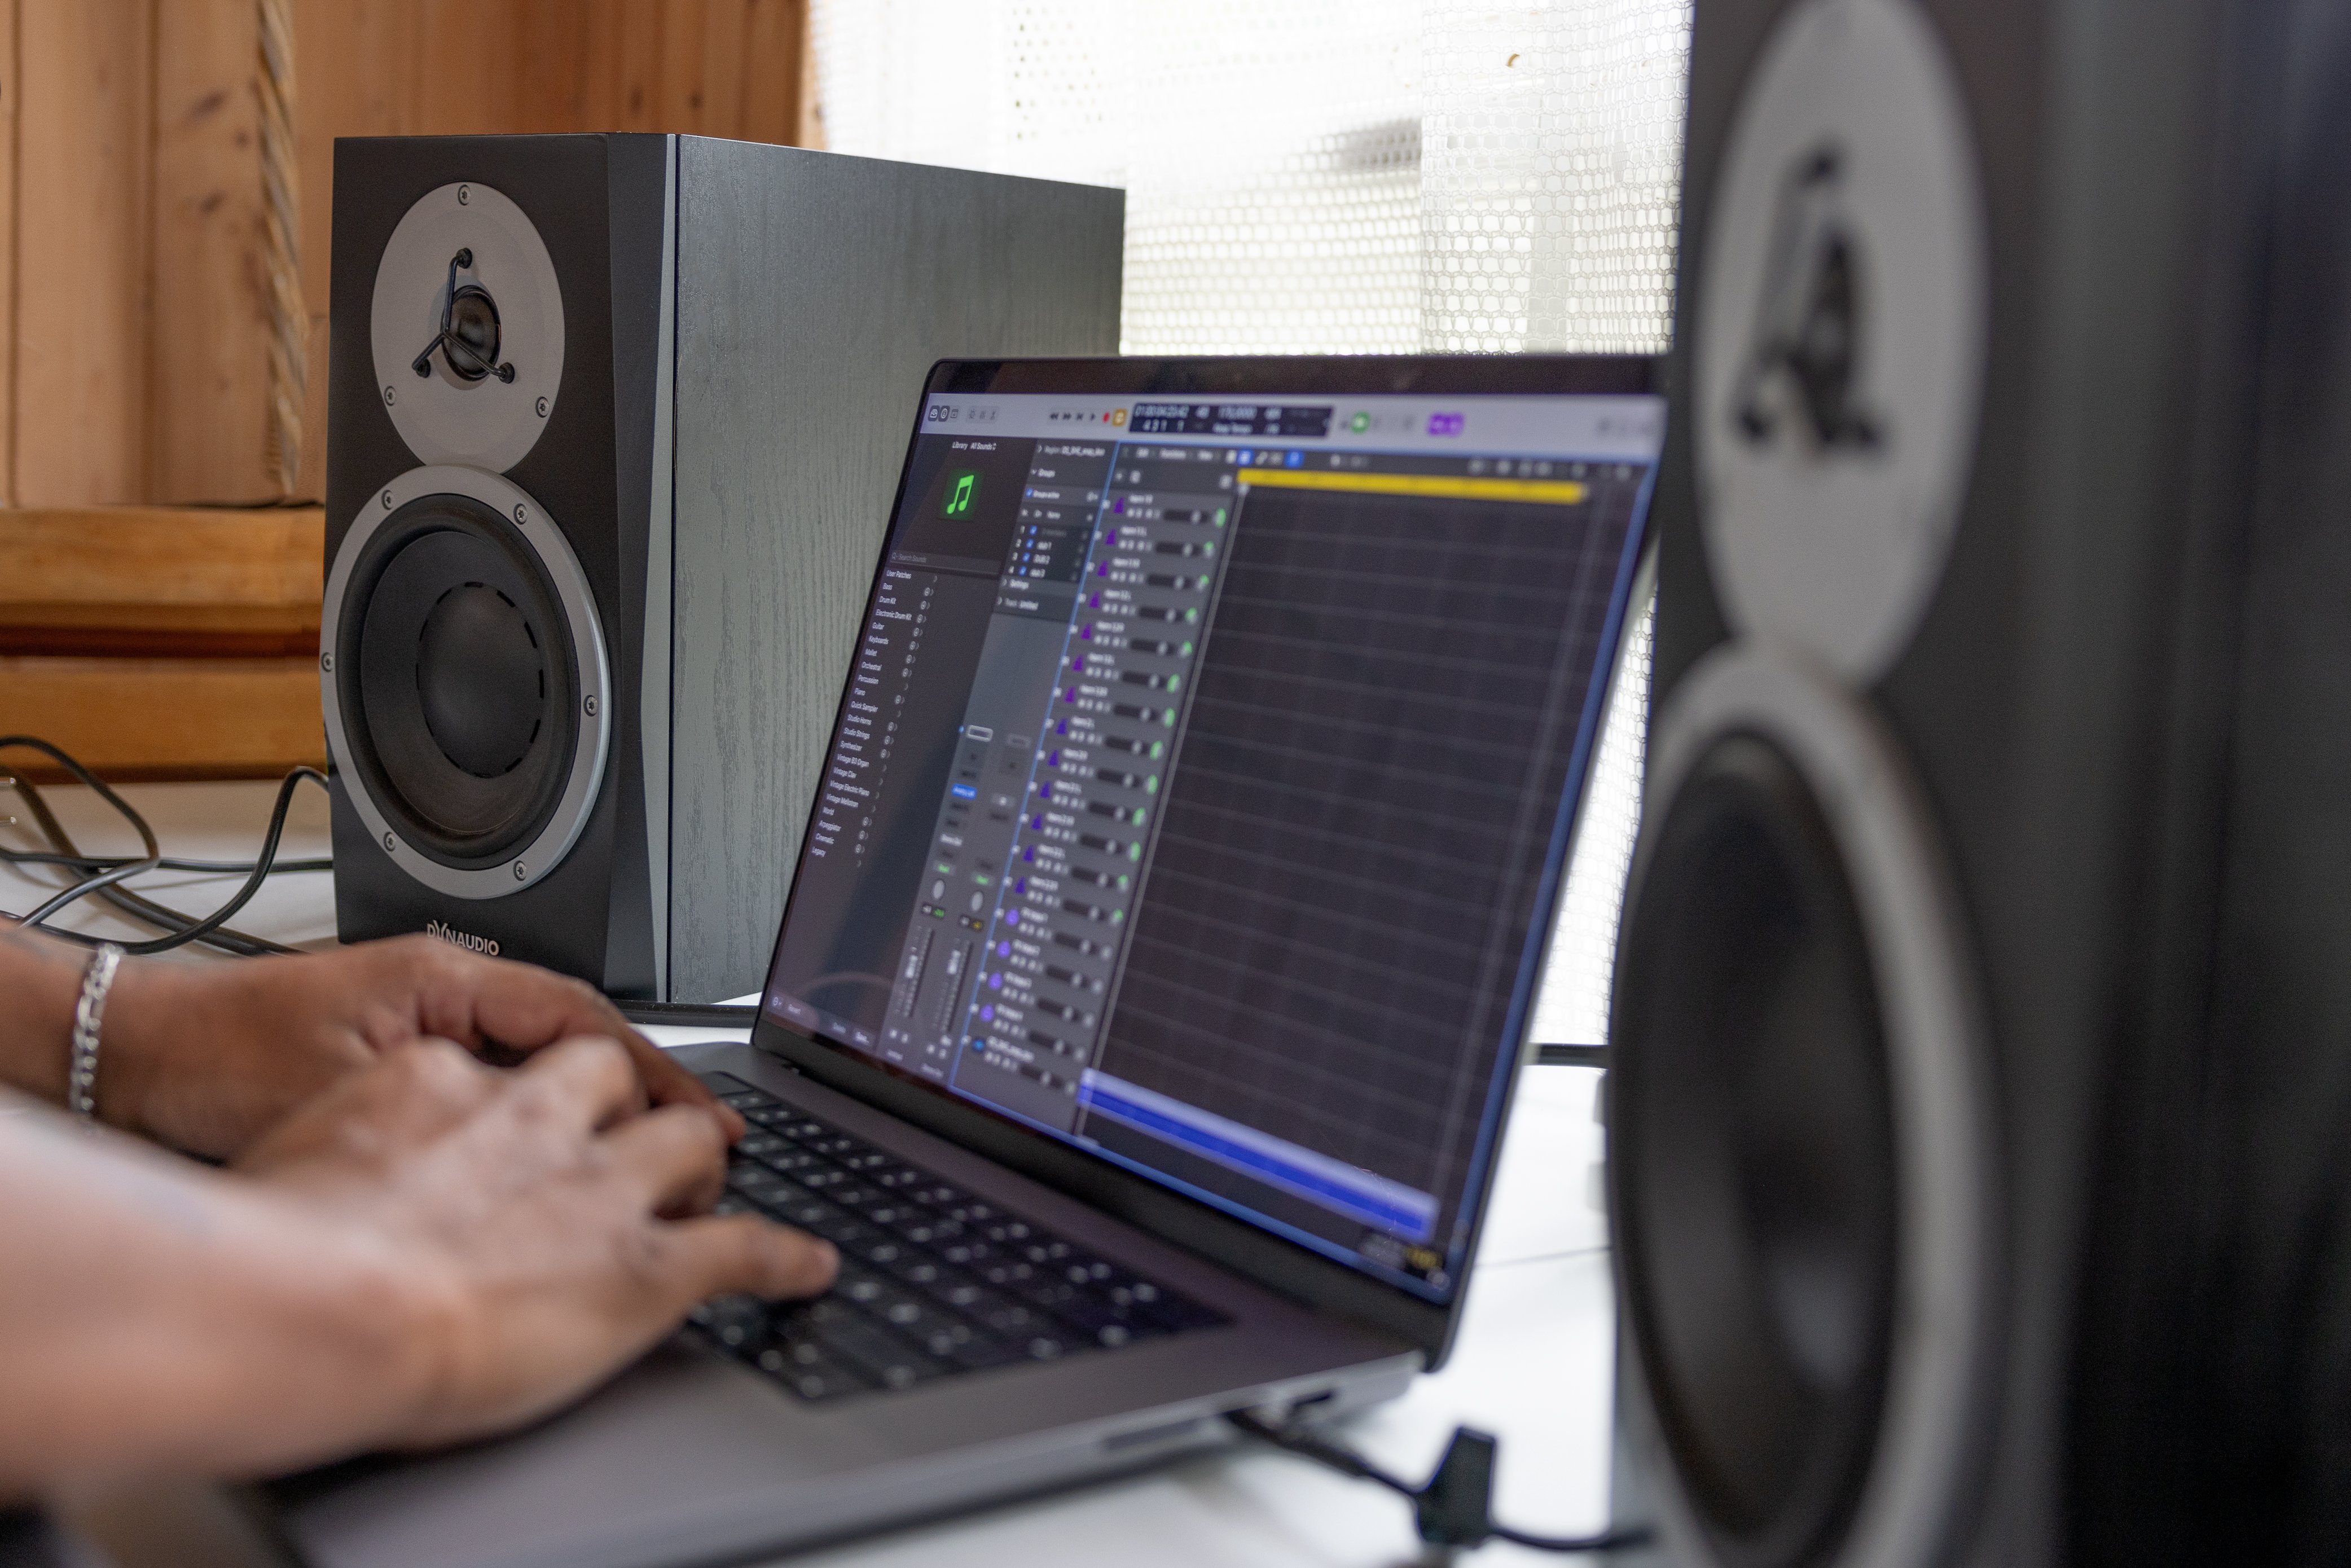
Background noise. Breathing. Unwanted artifacts. Mouth sounds. Flow. Timbre. Emotion. There’s a lot to deal with when working with sung or spoken voice recordings, and engineers deploy their full arsenal of studio weaponry when it comes to making them sound their best. Whether you're working on a podcast or preparing vocals for a music production, here's a guide to help you achieve outstanding results.
Use the scissor tool to cut unwanted audio
Editing voice recordings involves the removal of unintended sounds, such as background noise, breaths, mouth clicks or other things that might distract listeners. There are two primary ways to nix these noises: use the scissor tool within your digital audio workstation (DAW), or employ specialised plug-ins.
The scissor tool is a very cost-effective solution, as it’s almost certainly already included with the DAW you use.
It lets you manually cut and delete unwanted sections of audio. This method offers very precise control and can be a solution for removing artifacts or isolating specific sections by hand, but it requires a keen ear and careful attention to detail. The manual process can be quite time-consuming, too – particularly for longer recordings or when dealing with complex audio.
It also needs finesse – scissors might be sharp, but they’re bit of a blunt instrument when used incorrectly. Remember that when cutting out even a tiny piece of audio, the transition can be abrupt when you introduce a short segment with absolute silence. It might be necessary to use the crossfade tool to fade in and out of the surrounding sections.
Using plug-ins to clean up vocal parts
Another way to remove unwanted noise is by using specialised audio plug-ins designed for voice editing or noise removal. These can streamline the process and offer advanced features to address specific issues. Often, such plug-ins come with noise-reduction, breath-removal and de-essing capabilities, among others. They use algorithms to automatically detect and remove unwanted elements, simplifying the editing workflow.
TIP! Your DAW most likely has a package of basic audio tools included. Check if there’s a Noise Gate plug-in, which might already able to achieve great results by itself. It works by setting a threshold level, and when the audio level on the track drop below this threshold, the gate simply closes and there will be no sound at all until the audio level exceeds that threshold. It’s a very simple process, but it often works quite well.

Mixing your vocals
Once you’ve tidied up your vocal tracks, you might want to look into adding that delicious professional sheen – enhancing the clarity, balance and overall quality of vocals in the mix.
Several plug-ins can help you in that quest – but, on the fundamental level, you should use EQ for shaping the overall tone. We don’t know of any DAW that doesn’t have channel EQ, so you could start by loading one of those on your vocal track. If you find it too basic, or you’re looking for a more significant sonic flavour, some EQ plug-ins emulate classic outboard hardware (but they could cost a bit).
In general, shaping the fundamentals of your vocals is all about sculpting the frequencies: warmth (lows), clarity (mids) or sheen (highs). Just remember that you can’t have it all – if you boost all the frequencies, you might as well just slide the channel fader up. It takes some practice, and you can read much more about how equalization works in this article…
You should also take a closer look at the dynamics, and for that you need to use a compressor plug-in. A compressor aims to smooth a track’s dynamics by flattening its peaks. You set a threshold at which the compression kicks in, and a ratio that determines how much it should squish the signal. You also get control over time-based aspects with attack and release parameters, and you can also add a bit of make-up gain, as the overall level will be reduced in the compression process. You can read much more about how compression works in this article…
Finally, reverb plugins can add depth and space to your vocals. Carefully applying these effects creates a sense of ambiance or simulates a specific acoustic environment, such as a room, hall or even a cathedral. There are several parameters you can adjust, but unlike the compressor, they’re are often named differently (even though they do the same thing).
In general, you get control over the size of the space (how ‘big’ the reverb sound is), decay (how quickly it fades away), pre-delay (if the reverb should not be applied right from the very first transient) and mix (which determines the blend between the dry signal and the reverberated sound).
TIP! Sometimes a subtle reverb tail that’s mixed in at, say, 50/50 with the dry signal does the trick. Sometimes a much more extreme reverb, but only blended in at 10/90, is the solution. It all depends on your track, preferences and the overall mix. Don’t be afraid to experiment – in this phase anything is allowed and everything that you apply can be undone.
EQ before or after compression?
The order of using EQ and compression in the audio-processing chain is a matter of personal preference and the specific needs of the recording. There’s no fixed rule, and different engineers have different approaches.
If you use EQ before compression, you can shape the tonal balance and address any unwanted resonances or frequency issues. This helps you create a more balanced and polished sound by addressing tonal imbalances and resonances before applying compression to control the dynamic range. However, this might affect the way the compressor responds to the audio, as EQ adjustments can alter the dynamic range.
And vice versa. If you decide to tame the peaks and smooth the dynamic profile first, this process also effects the overall tonal balance, which could cause you to apply EQ differently than you would have.
Ultimately, the choice between using EQ before or after compression depends on the specific requirements of the audio material and the outcome you want. It’s often a good idea to experiment with both approaches and trust your ears to determine which works best for each particular recording.
In today’s digital production environment, changing the order of processors is as simple as drag-and-drop. Back in the day, you’d use an analogue patch-bay to physically reconnect the order of outboard processors. This applies to all effect plug-ins, and the above points about the order applies to all effects. A chorus, overdrive or delay effect also affects EQ and compression – every link in your signal chain affects all of the succeeding links.
Sign up to get more great articles
Nothing compares to the satisfaction of knowing – for a fact – that something is as good as it gets


