The Six Step Guide
Here’s your cut-out-and-keep quick-reference guide:
- Take off your jewellery
- Blow your speakers down with compressed air
- Two microfibre cloths: one wet and wrung-out, and one dry
- Use the wrung-out cloth to wipe down the entire cabinet with long, gentle strokes
- Repeat it with the dry one
- Don’t touch the tweeter!
To guide us through each step, we have talked to Allan Kristiansen and John Christensen from our production department.
The first step is to blow down the entire cabinet with the compressed air to gently remove any small particles that might have found their way onto the cabinet:
“Unfortunately, it’s easier than you think to create scrapes in the lacquer: gritty particles and even flower petals can blemish the cabinet. But blowing these things away before you start wiping down really helps avoid accidental damage,” John explains.
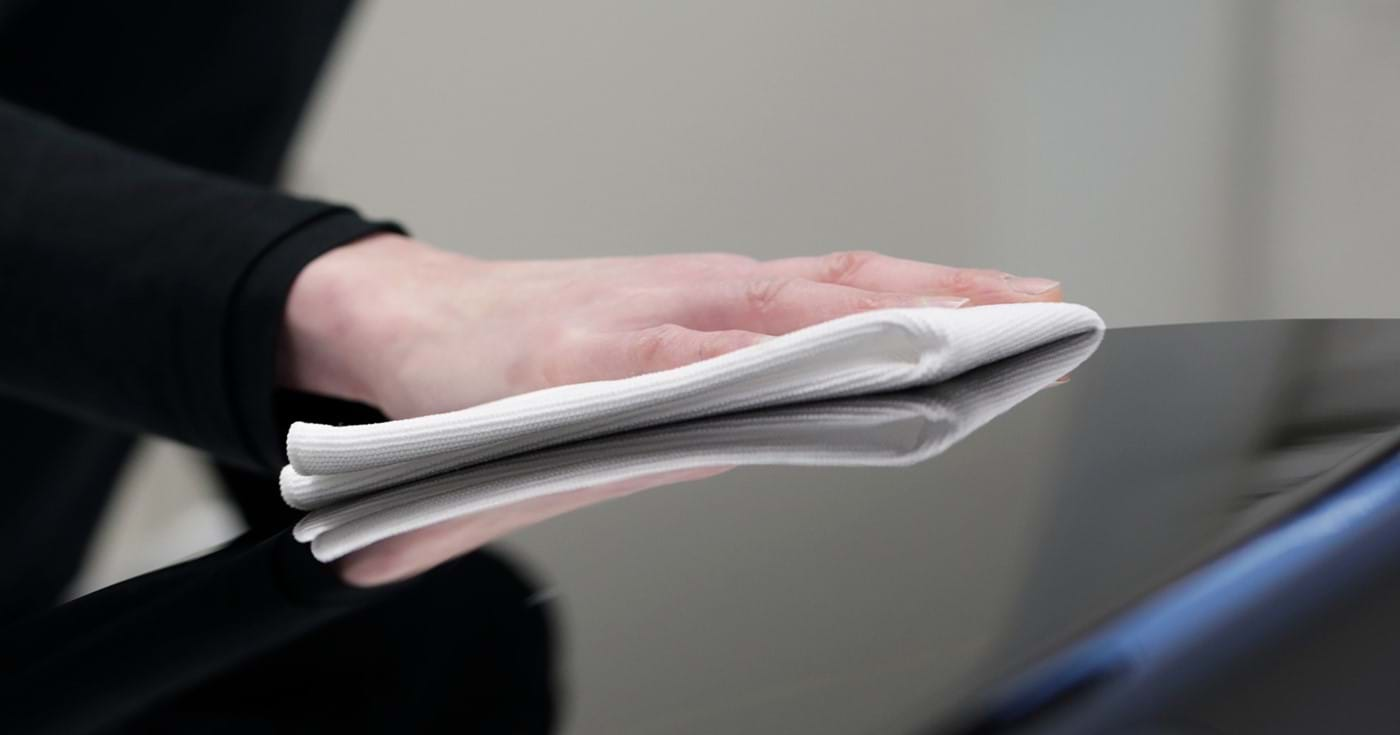
Next, you need your cloths: soak one of them in lukewarm water and wring it out well, and leave the other dry. Make sure there aren’t any folds or stitching in the part of the cloth you’re wiping with.
Now, with your well-wrung, well-folded microfibre cloth, start wiping down the entire speaker with long, gentle strokes. Everything except the tweeter; do not touch the tweeter!
Then repeat that with the dry microfibre cloth – still using long, gentle strokes, making sure to get every inch of the cabinet.
Leave the Buffing Tools in the Shed
Going over your speakers like this might reveal a scratch or two. What do you do then? While it might be tempting to find some car polish and get out your buffing tools, we strongly recommend that you take a deep breath… and then just don’t do it.
“The lacquer is delicate, and without knowing the exact chemical composition of the polish, it’s tough to predict how it’ll affect the lacquer. In most cases, you’ll end up doing some damage,” says Allan.
“I recommend talking to your local dealer or contacting our support team: bring or send a detailed description of the scratch, with well-lit pictures, and tell them what finish you own (colour, high-gloss, satin, etc). Together we might find a solution, but it really depends on the severity of damage,” he adds.
Sign up to get more great articles
Nothing compares to the satisfaction of knowing – for a fact – that something is as good as it gets


