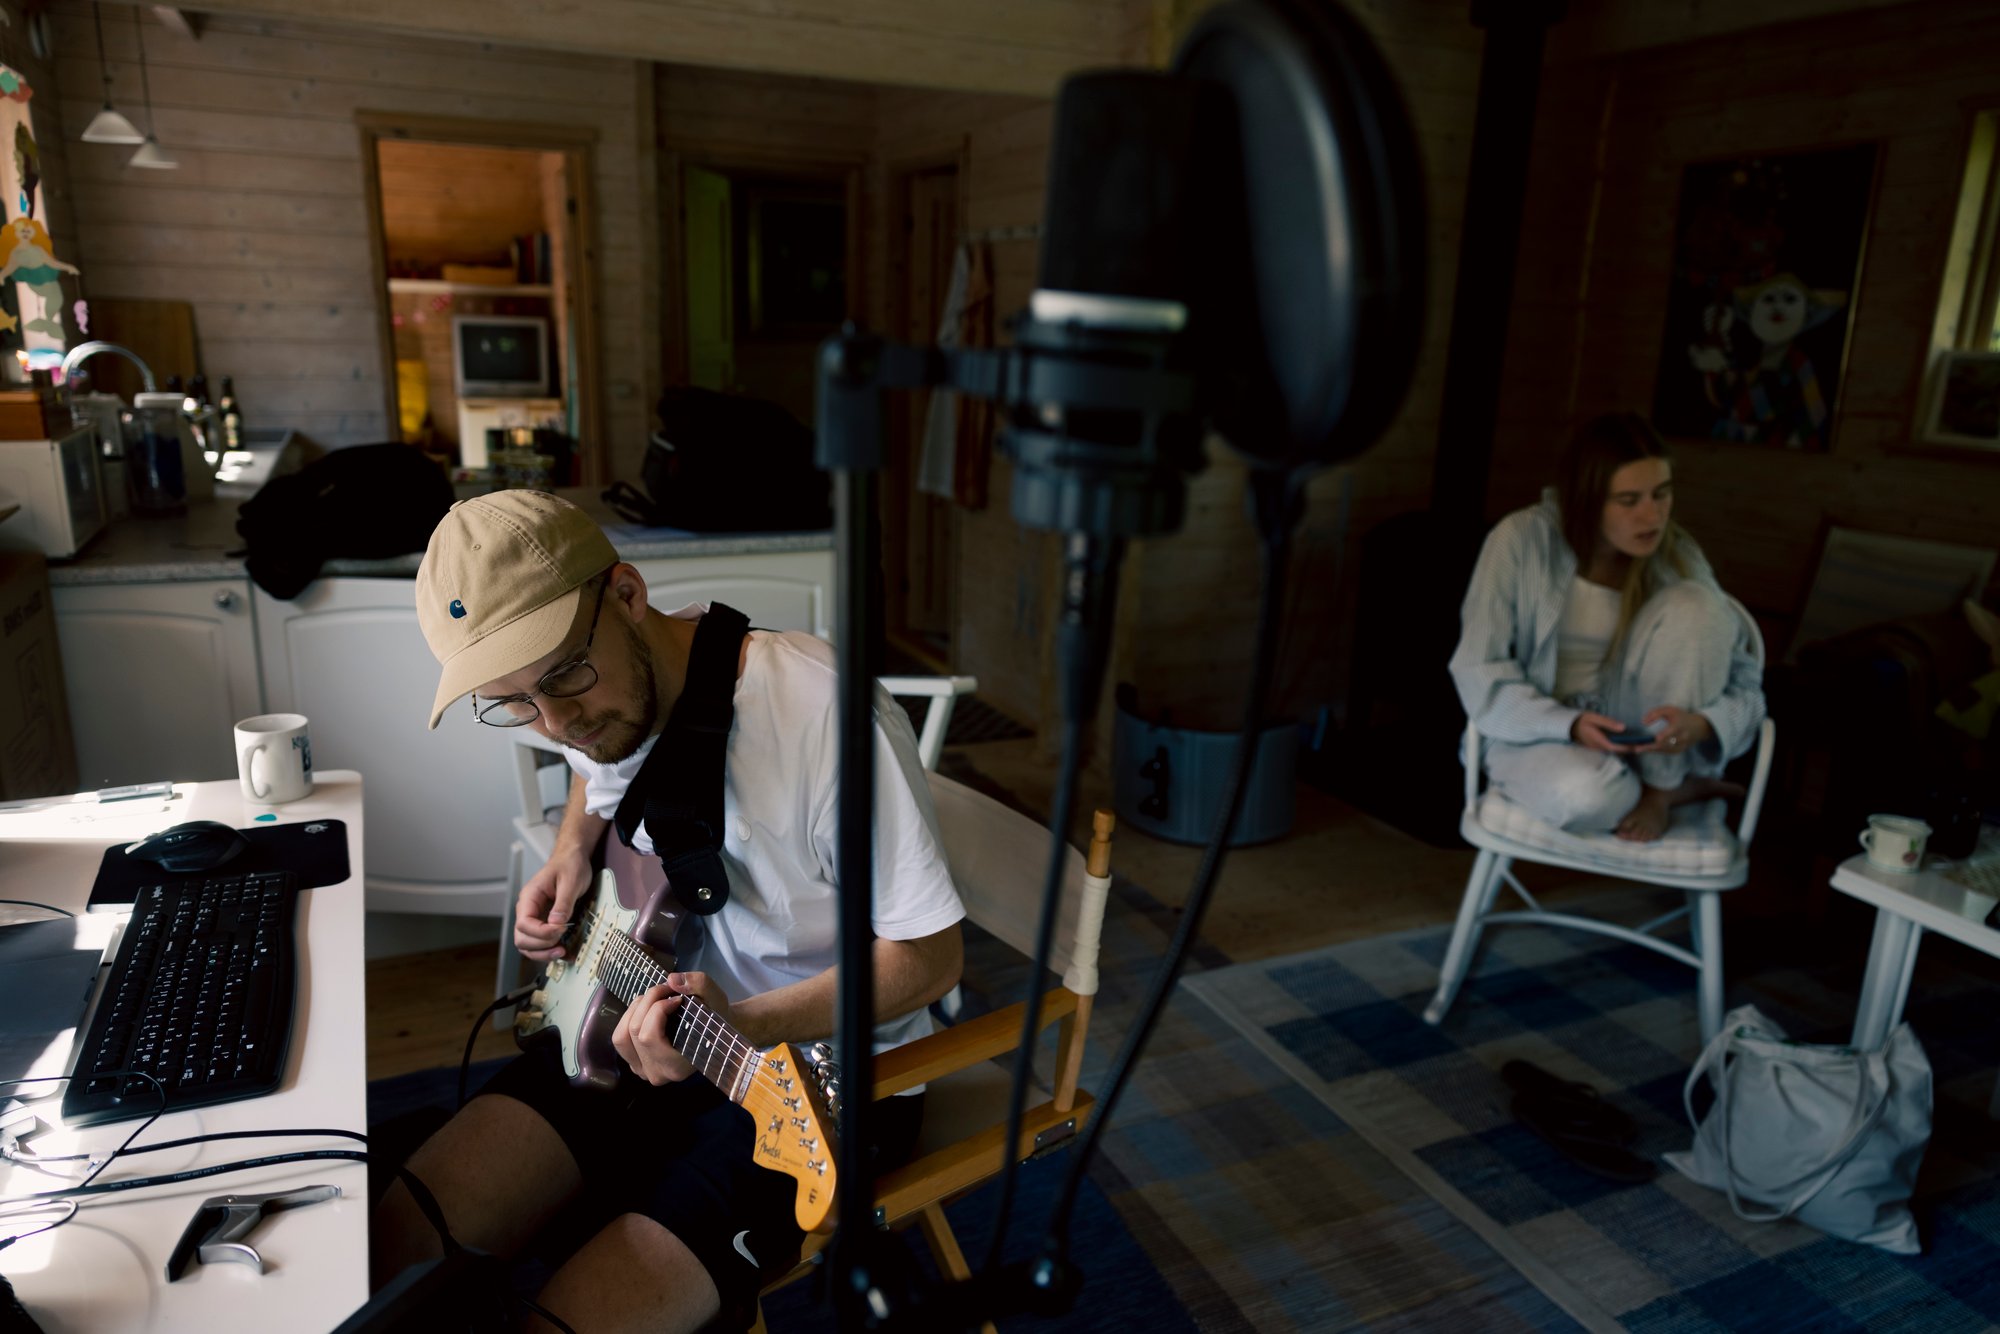
Recording voice or vocals in a home studio can sometimes be a challenge, whether you're a singer, podcaster or other kind of content-creator. However, with the right equipment and techniques, you can achieve professional-quality results without ever leaving the comfort of your own studio. In this article, we’ll look at the basics of home-based studio recording, including the equipment you’ll need and how to optimise your recording environment.
The microphone
To get started, you’ll need a microphone for recording voice or vocals at home. Invest in a good-quality mic that suits your needs and budget. Condenser microphones are commonly used for voice-recording due to their sensitivity and clarity, but – especially in podcast productions – a dynamic mic is also a popular choice.
In general, when choosing a mic for recording vocals or voice, the polar pattern is an important consideration, as it determines how the sound is captured from different directions. The most commonly used polar patterns for vocal recording are cardioid and supercardioid.
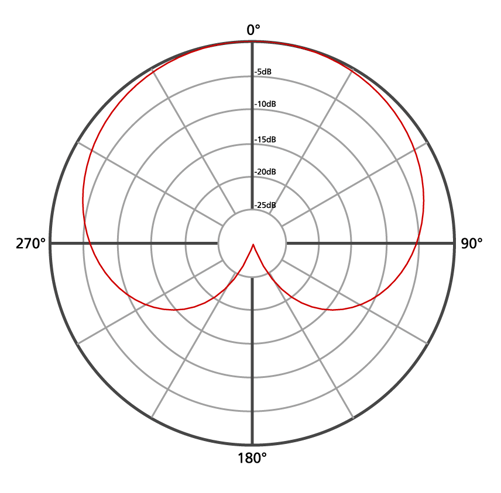
A cardioid polar pattern is highly sensitive to sound coming from the front, while attenuating sound from the sides and rear. This pattern focuses on capturing the direct sound of the vocalist while reducing back-ground noise and room reflections. It provides good isolation and majors in clarity and focus.
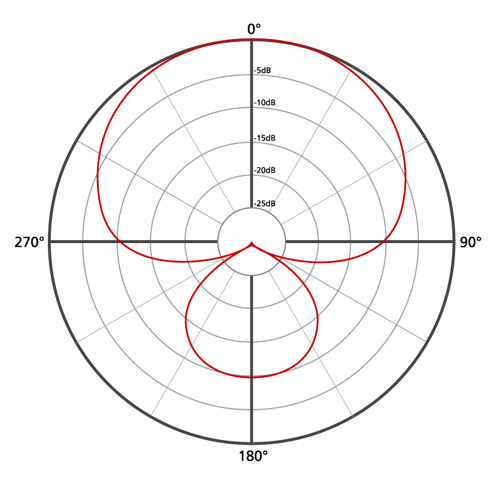
The supercardioid (also sometimes referred to as hypercardioid) polar pattern has even narrower pickup angles. It offers even more focused sound-capture from the front, and better rejection of off-axis sounds. Supercardioid/hypercardioid patterns are useful when dealing with noisier environments or when you want to isolate the vocal sound more effectively.
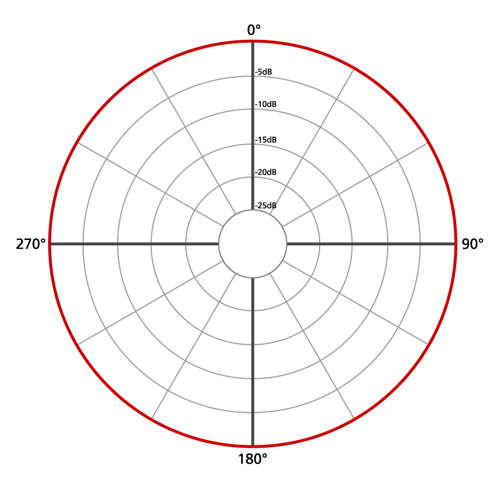
Unlike cardioid patterns, the omnidirectional polar pattern captures sound equally from all directions. While less commonly used for vocals, they can be suitable for certain artistic purposes or when you want to capture the ambiance of the room. Omnidirectional patterns are generally avoided when recording vocals in less controlled environments, due to their tendency to pick up more background sounds.
TIP! If you record your vocals while playing an instrument, we’d advise going for a mic with a supercardioid polar pattern, in order to avoid too much bleed from the instrument on the vocal track. On the other hand, if you record vocals with no other instruments playing and use closed headphones, you could experiment with using an omni mic that captures more of your room’s natural ambience. However, even with a (super)cardioid mic, you can still apply ambience in the mix – so if you have to choose only one pattern, we recommend that you go for cardiod.
That said, it's worth noting that some microphones offer switchable polar patterns, so you can choose the most appropriate option for different recording scenarios. This versatility is great if you plan to use the mic for capturing many different sources, including a variety of instruments and amps.
Capturing your voice
Once you’ve found the mic you want, we recommend that you use a pop-filter, which is basically a screen placed in front of the microphone to reduce plosive sounds (such as ‘P’ and ‘B’ sounds) that can cause distortion and booms.
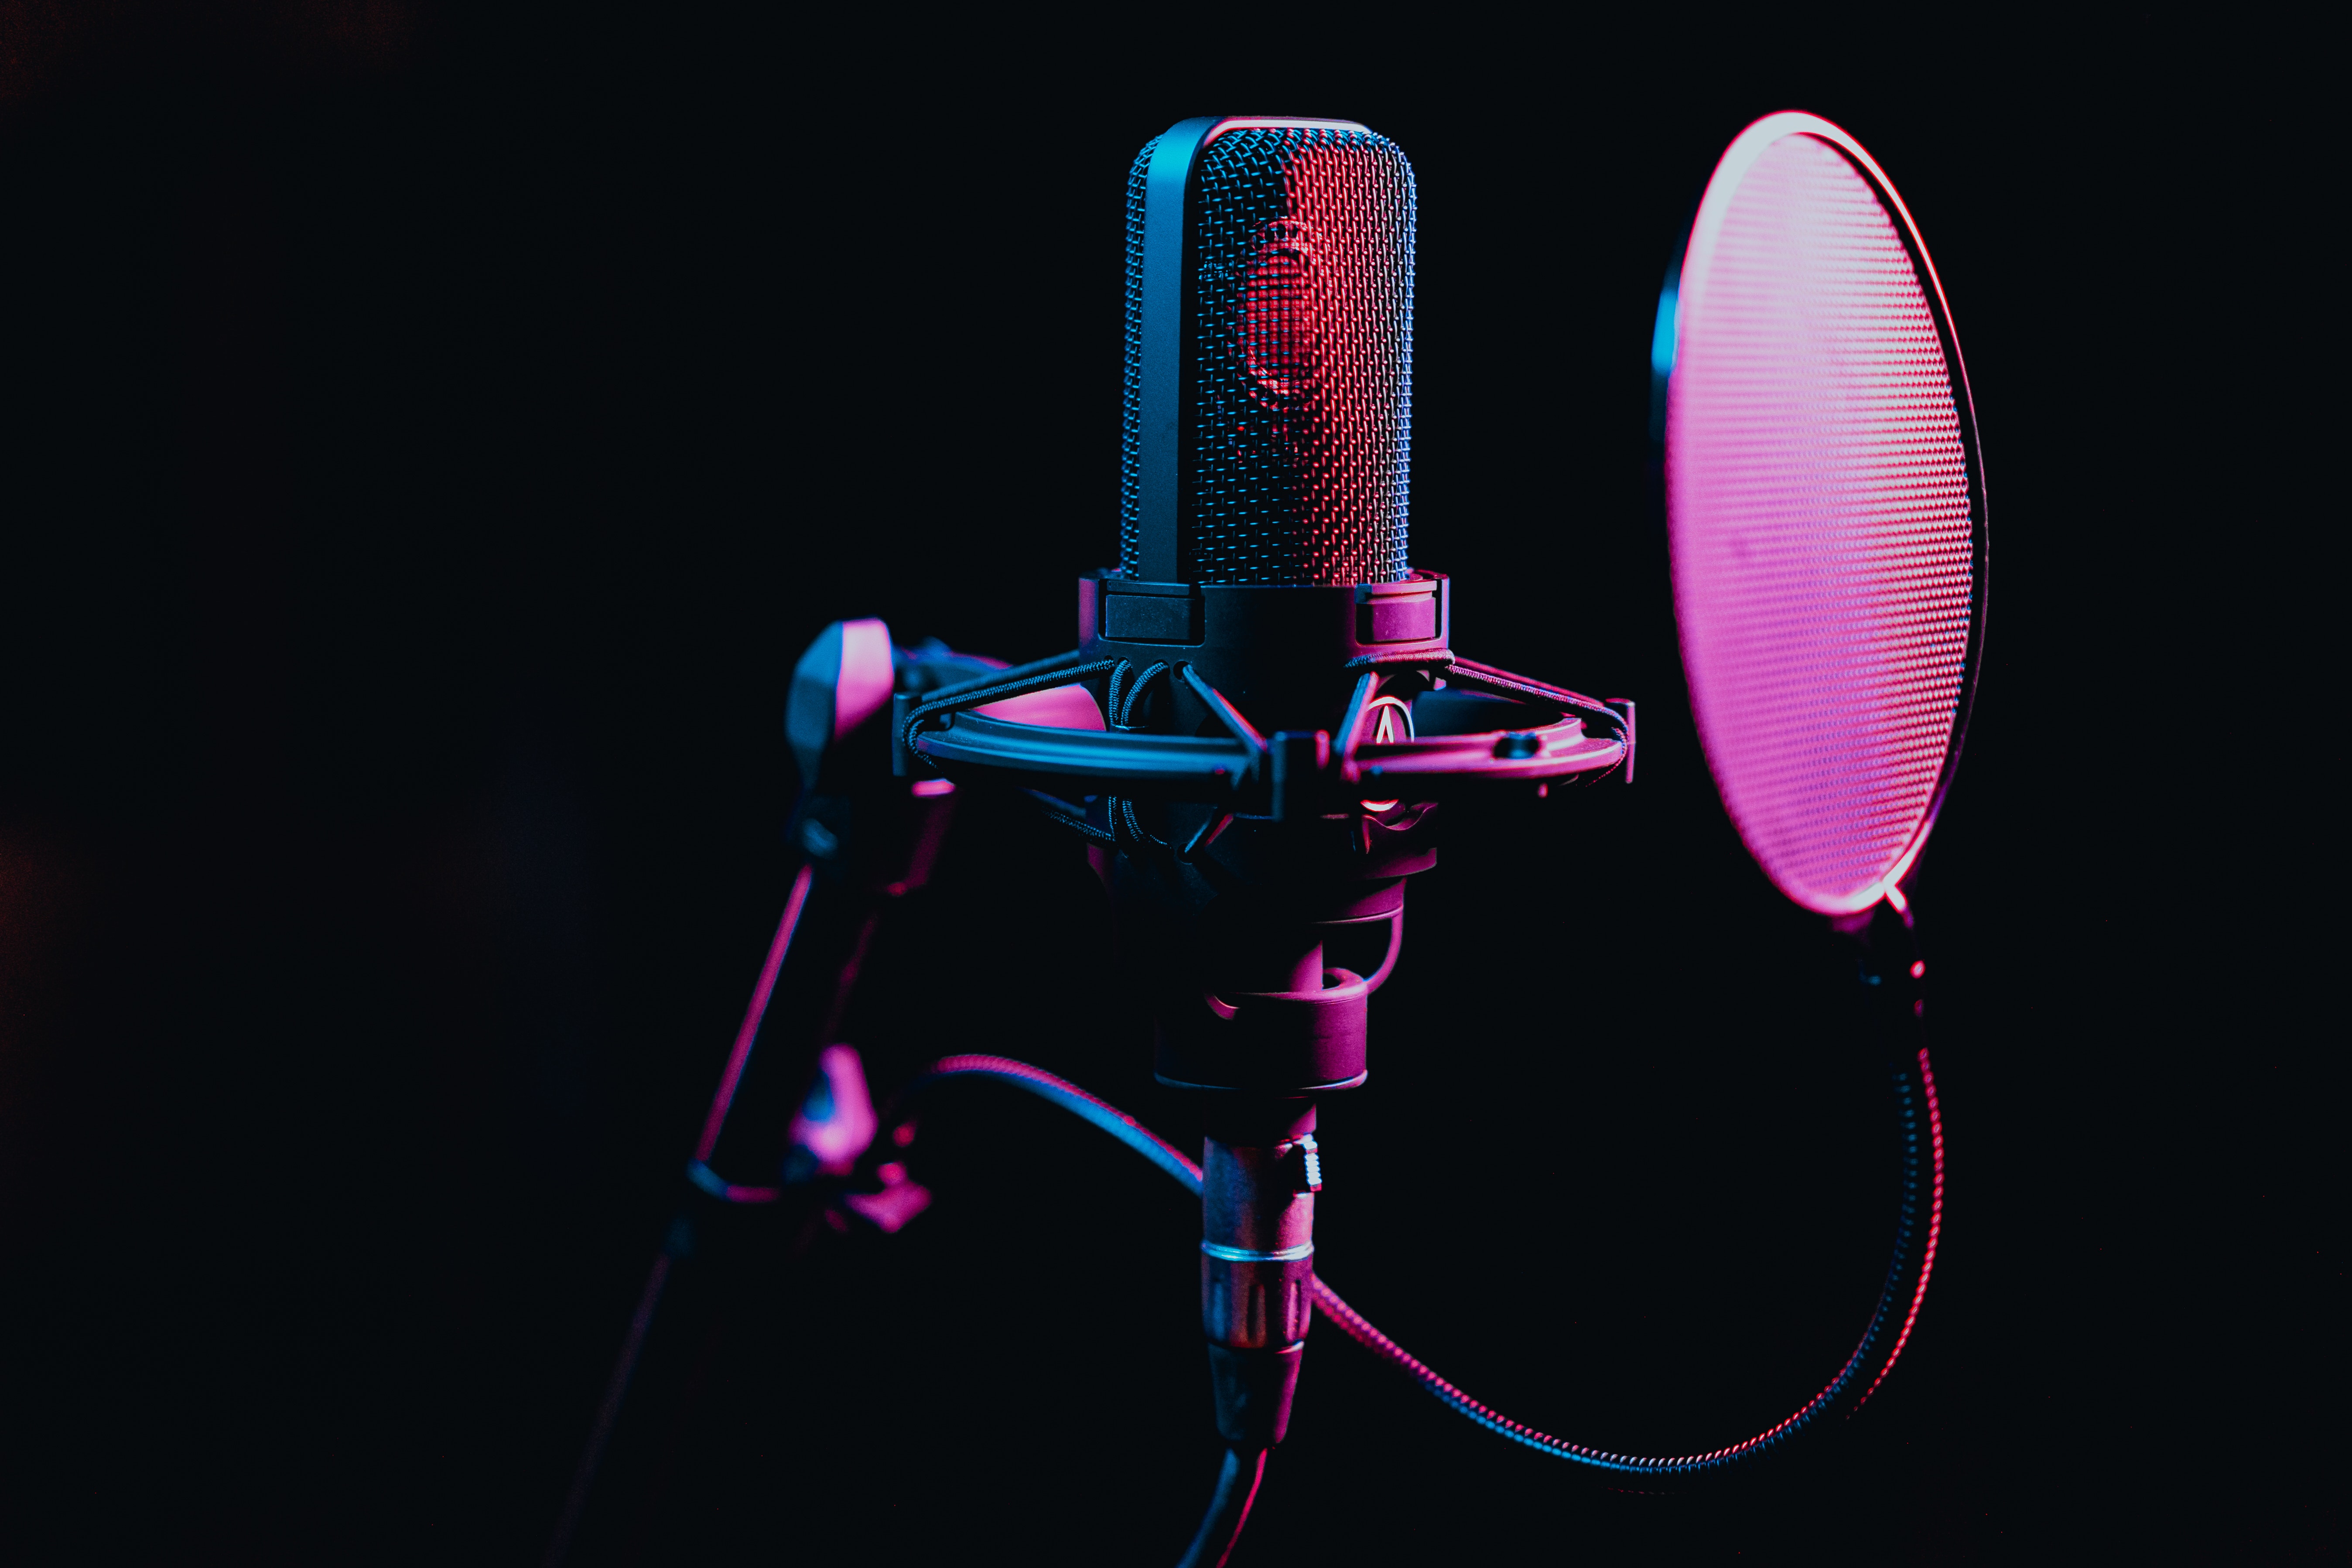
A pop-filter minimises unwanted bursts of air hitting the microphone diaphragm, resulting in cleaner recordings. It helps you maintain a consistent and even tone throughout your performance. It’s a very small investment compared with most of your other studio gear, and it can often make a real difference.
Recording with or without effects
It is generally advised that you record voices without effects during the recording stage. While it might be tempting to add reverb or other effects to enhance your sound (especially if you’re the performer), it’s best to keep the recording clean and dry. Recording without effects allows greater flexibility during the mixing phase, as you can apply specific effects precisely to suit your artistic goals.
It's especially problematic to record with reverb, delay or modulation effects, as they have a significant impact by design and are hard to remove once recorded. Many singers like a bit of ‘comfort reverb’ during recording, but to get that you should create a track on a bus in your DAW (Digital Audio Workstation), add reverb to that and route the incoming vocal signal through that channel. There will be a bit of latency, but since it will be blended with your dry vocal and reverb is mostly heard after the initial transient, it isn’t usually a problem.
Exceptions could in some cases be very gentle EQ-ing and/or just a touch of compression. Use these tools to shape the sound slightly in the right direction and remember that you can always add more when mixing. But you can’t remove what you added on the way in, so be careful.
TIP! As a rule of thumb, only add EQ or compression if you have a very clear idea from the get-go about what sound you want on your voice. If you haven’t decided yet, don’t use any effects at all; apply them afterwards during the mix.
The acoustic environment
Creating a suitable acoustic environment in your recording space can significantly improve your vocal recordings. We suggest that you consider using acoustic panels or foam to minimise reflections and echoes in your room. Place them strategically on walls, ceilings, and behind the microphone to absorb unwanted sound reflections. There are also several compact solutions that can be mounted immediately around the mic – typically a U-shaped device with sound-absorbing material on the inside.
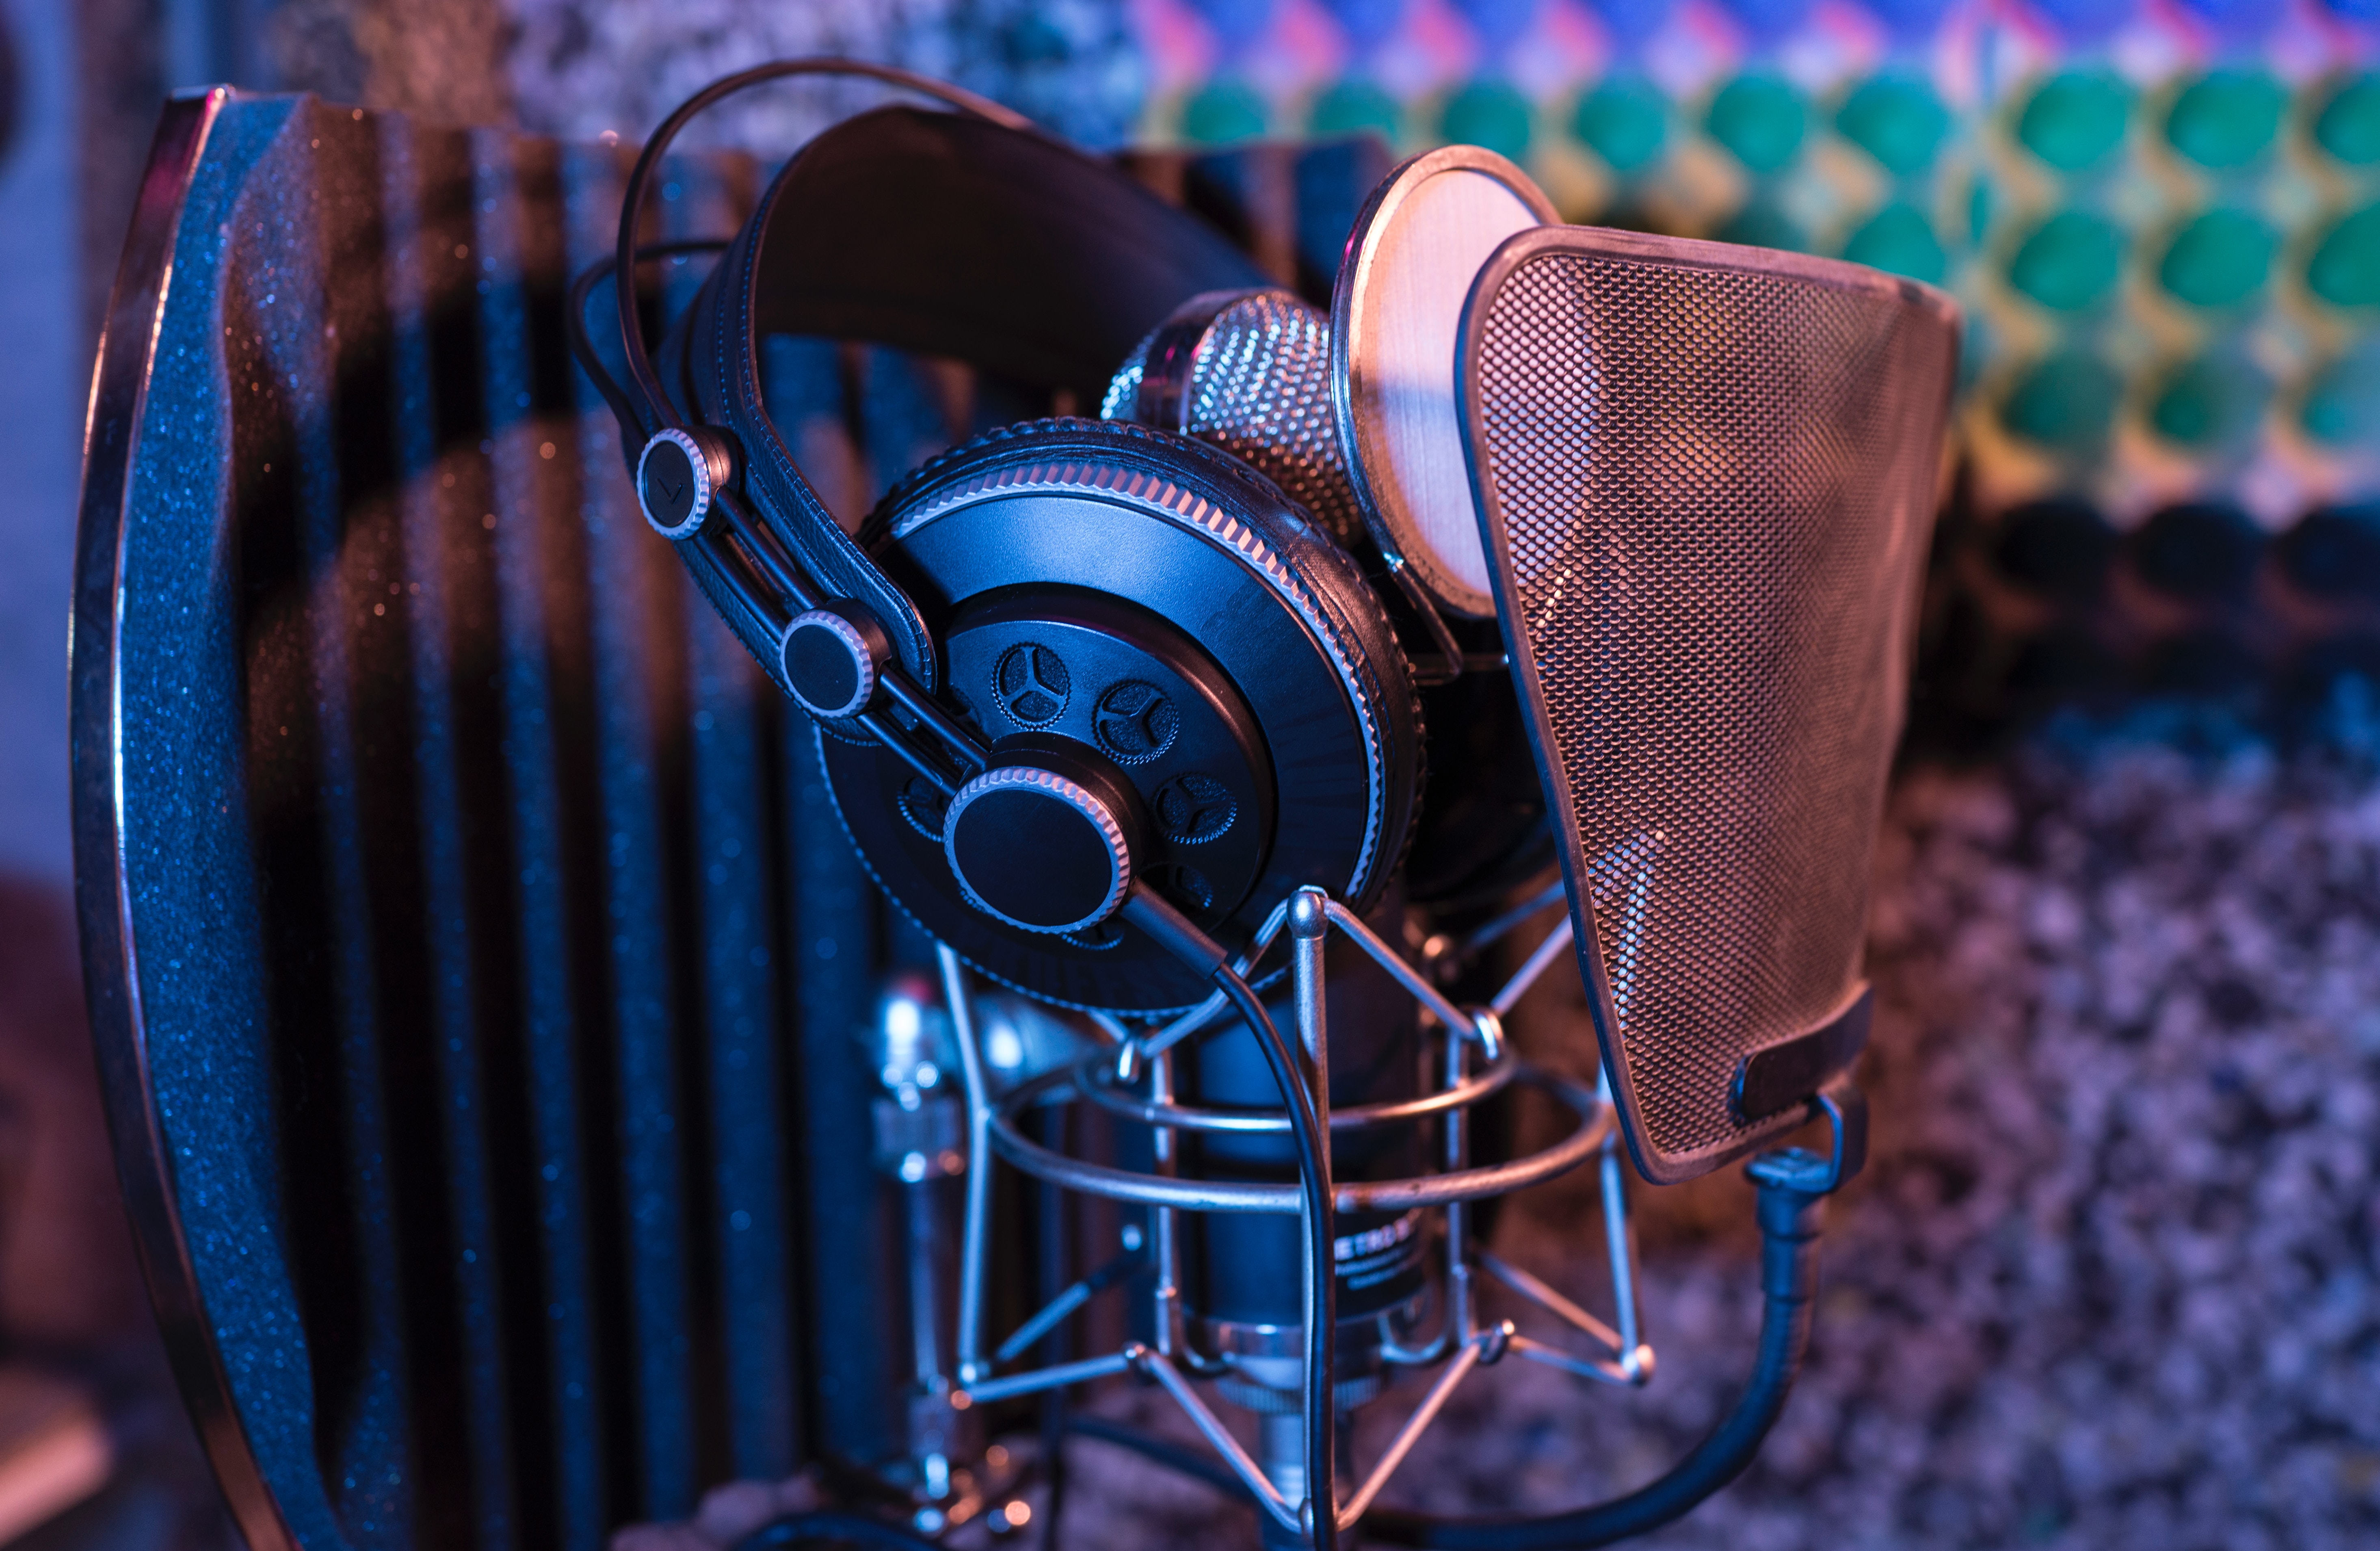
Further, if possible, choose a quiet room with minimal external noise. Setting up in the room next to a washing machine or screaming toddler risks sudden additional sonic flavours that you didn’t ask for (unless you’ve somehow trained your toddler to sing backing vocals). For the same reason, make sure to close the windows and turn off fans or air-conditioning before pressing Record.
TIP! If you’re a traveling podcaster that often needs to record in a hotel room, you can sit on the bed… and under the blanket! This will give you a uniform recording regardless of the various room sizes and reflecting surfaces you’ll meet out there on the road. That said, sometimes it can get a bit claustrophobic – both physically and sonically; the sound can be very ‘tight’, with no natural ambience. If that’s the case, experiment with pulling the blanket over your head, but without letting it cover you completely. Obviously, this is a tip for podcasters; video presenters might well find that this method doesn’t really look the part!
The more comfortable you are with the sound you hear while recording your performance, the better your results will be. And we’re not talking about sonic fidelity here, it’s more about how you express yourself when diving into the music without having small doubts in the back of your head:
Will I be able to tame the reflections in the mix?
Will an ambulance drive by my open window?
Will my omni mic capture too much of room sound?
Deal with the circumstances that you can control up front and you’ll be set when you hit the red button.
Sign up to get more great articles
Nothing compares to the satisfaction of knowing – for a fact – that something is as good as it gets


